FOR MAYA ANIMATORS WORKING TO A SCHEDULE
13 Production Workflows
That Make You Faster in Maya
You already know the fundamentals. You can hit a good pose. You work in Maya.The thing slowing you down isn't your eye, it's the order you're doing things in.This course is 13 Maya workflows I've used, developed, or picked up over ten years animating in AAA. Each one is built around a specific production problem, and every one works the same way underneath: simplify the problem, test it quickly, then spend your time where the shot actually needs it.They're not hotkeys and they don't involve lowering the quality bar. They're the order production animators work in.Here's why that order matters.
Real production doesn't work like school
School gave you a schedule. A week on reference. A week in blocking. A mentor telling you when the shot was ready to move on.Production hands you a shot Monday and expects something useful in dailies a few days later. No clean gate between stages. Nobody tells you when to move on.So most animators run the school process at production speed. They commit expensive work before the decisions underneath it are made.Production animators work the other way around. They test the timing first, while it's cheap. Then they spend their hours where the shot actually needs them.
Here's the clearest exampleStepped mode is excellent for posing and terrible for timing.When you look at stepped poses, your brain fills in what happens between them. The shot feels more resolved than it really is. Everyone in the review nods. The timing seems fine.Then you spline it, and the shot feels completely different.Now you're fixing timing on top of arcs, overlap, contacts and spacing, all at once. Every change costs more, because there's more work attached to it.I've watched that happen many times in production, including on my own shots. It points at the rule that governs every shot you'll ever animate:A decision is cheap early and expensive late.Make your big decisions while they're cheap, and shots move fast. Make them late, and every note costs you a day.
Why I Had to Figure This Out
My name is Stefan Iverson. I've spent over ten years animating in AAA on The Last of Us Part II, The Callisto Protocol, Marvel's Avengers, and the Tomb Raider series.I mention those credits for one reason: production forced me to get faster.Every project was different, but the pressure was familiar. More gameplay animation than days. Reviews that kept moving. Work that still had to hold up.I couldn't solve that by moving my hands faster. I had to change the way I approached the shot.Some of the workflows in this course came from things I figured out myself. Others came from animators around me. A lot of them were small production habits that made an immediate difference once I started using them consistently.I put the best of those ideas together here.
Animating Faster Doesn't Have to Mean Rushing
When people hear "animate faster," it can sound like the goal is to rush the work or lower the quality bar.That's not what I mean. The goal is to spend less time solving the wrong problem at the wrong stage.That's what the three steps in the lead are for. I call it the Test-First Workflow:
Simplify the problem.
Test it quickly.
Spend your time where the shot actually needs it.
It lets you find out whether an idea works before you've paid for it with a day of posing.The tools available to animators now make every one of those steps faster than it's ever been. Most animators just never learned the workflows that use them.There's another benefit too. Animation is more fun when trying an idea doesn't feel expensive. If I know I can test something quickly, I'm much more willing to experiment, throw out a pass, or try a version that might be better.
What This Changes on a Real Shot
The value of getting faster isn't that every shot suddenly follows a perfect schedule. Production is never that clean.The value is that you get to something useful earlier.Instead of spending two days building poses before anyone can really judge the motion, you show a readable timing idea much earlier. If the direction changes, you have less work to throw away. If the direction is good, you move into the real character with more confidence about the foundation underneath it.Over time that compounds. You finish more shots. You get more repetitions. You have more room to experiment.If you freelance, fewer wasted hours give you more control over your schedule. If you're building a reel, you spend more of your time finishing work instead of endlessly rebuilding the same early decisions.And when a shot isn't working, changing direction stops feeling painful once you have a process for rebuilding quickly.
Here's What Those Animators Are
Saying About These Techniques:
❝ These lectures help me to animate faster than ever. Especially when it comes to secondary animation, which if we're using the traditional way to animate it, it sure takes a lot of time to finish it. ❞
Cynthia - Animator for video Games
❝ I am so happy to have this course, 13 Ways to Animate Fast by Stefan. In this course, Stefan showed so many ways and tricks to animate really fast. His Layered workflow is amazing, I have started practicing this workflow and already getting the result.Also, I would like to mention some other things, like natural and dynamic camera works, retargeting, using AI tools for motion capture, and so many things. Thank you so much, Stefan. ❞
Biswajit John - Animator for video Games
❝ Stefan explained thoroughly in his course how to make dynamic camera moves, which I haven't found yet in any course! ❞
Edwin - Animator for video Games
❝ So this is 1.5x faster than the basic layered style and 3x faster than pose-to-pose. In under 10 minutes, I can turn a blank slate into a decent head turn that drives the torso naturally. I can test and adjust motion for the right fit without committing at first, in a non-destructive way. That is a total win.! ❞
Fiyin - Animator for Film and TV
❝ I learned to utilize AI technology through video references for mocap, using it as a reference from all angles. I also learned to distribute motions throughout the body using a layered method. Combine that with other workflows covered in different topics, and you'll have a wide range of techniques in your arsenal to become a more confident animator ❞
Rex- Animator For Video Games
❝ What I love the most is that all your methods are so optimized and a huge time gainer.For me the way you are using basicOverrig script to attach and do overlaps was a game changer for me! ❞
Mohammed- Animator
❝ Stefan's course had a lot of invaluable nuggets and tips on streamlining workflow. The way he goes over using basic OverRig and the way he takes time to explain his choices and methodology make this more than worth the cost of the course. Definitely glad I picked it up! ❞
Andres- Animator
❝ The most notable new things I found in this course were the way you use the Euler filter. First, zeroing out all rotations in the -1 frame. Your method of working with the spine, by keeping the arm and head rotations unchanged. And the quick magic AI tool - which has sped up my workflow so much. ❞
Igor- Animator
❝ What I learned from this lecture is that you dont need a fancy machine or mocap equipment. This course has showed me that anything is possible if you have a phone/camera and a computer. With those 2 things and a bit of effort, you can create stunning animations right at home. ❞
Peter- Animator for Games
What This Changes on a Real Shot.
The value of getting faster isn't that every shot suddenly follows a perfect schedule.Production is never that clean.The value is that you can get to something useful earlier.Instead of spending two days building poses before anyone can really judge the motion, you might show a readable timing idea much earlier. If the direction changes, you have less work to throw away. If the direction is good, you move into the real character with more confidence about the foundation underneath it.Over time, that matters. You finish more shots. You get more repetitions. You have more room to experiment.If you freelance, fewer wasted hours give you more control over your schedule.If you're building a reel, you spend more of your time finishing work instead of endlessly rebuilding the same early decisions.And if a shot isn't working, changing direction doesn't feel as painful when you have a process for rebuilding quickly.
Introducing:
13 Ways to Animate Fast in Maya
A collection of 13 production workflows I've used, developed, or picked up over more than ten years of working in animation.These aren't hotkey tips. Each lesson is built around a specific production problem: planning, secondary motion, overlap, camera work, retargeting, AI reference and mocap, cleanup, and the other places where a normal workflow becomes slower than it needs to be.Every one of them works the same way underneath. Simplify the problem, test it quickly, then spend your time where the shot actually needs it.
Here's Exactly What's Inside This Course:

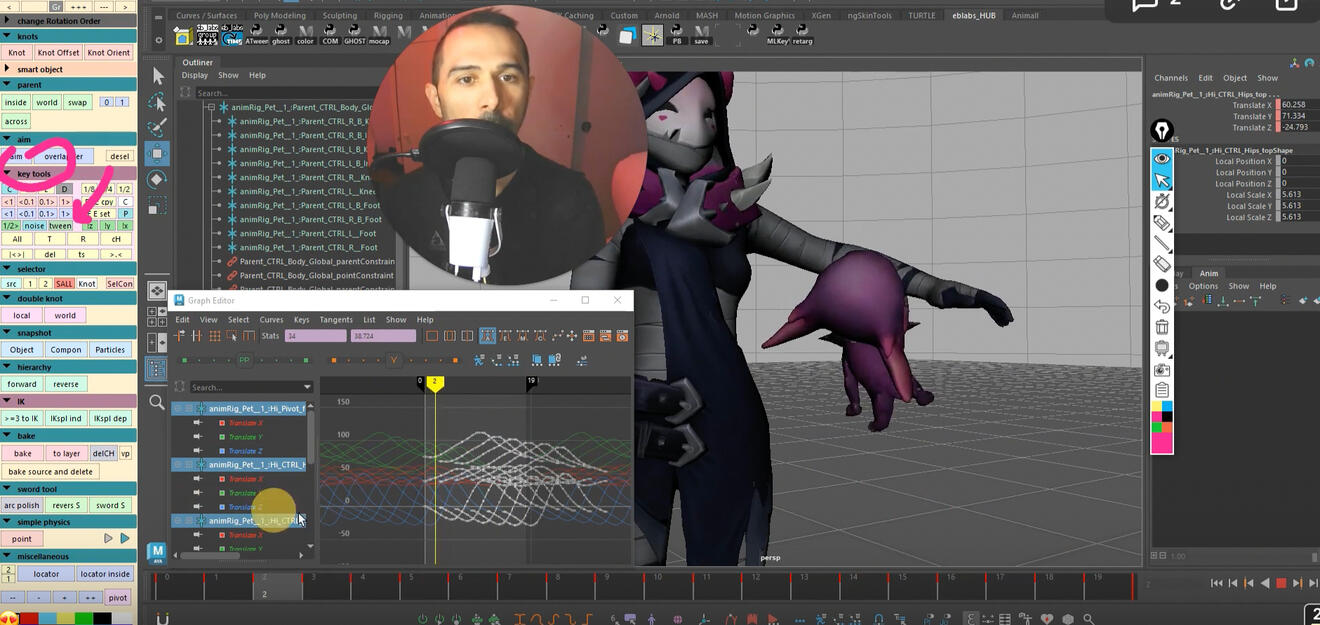
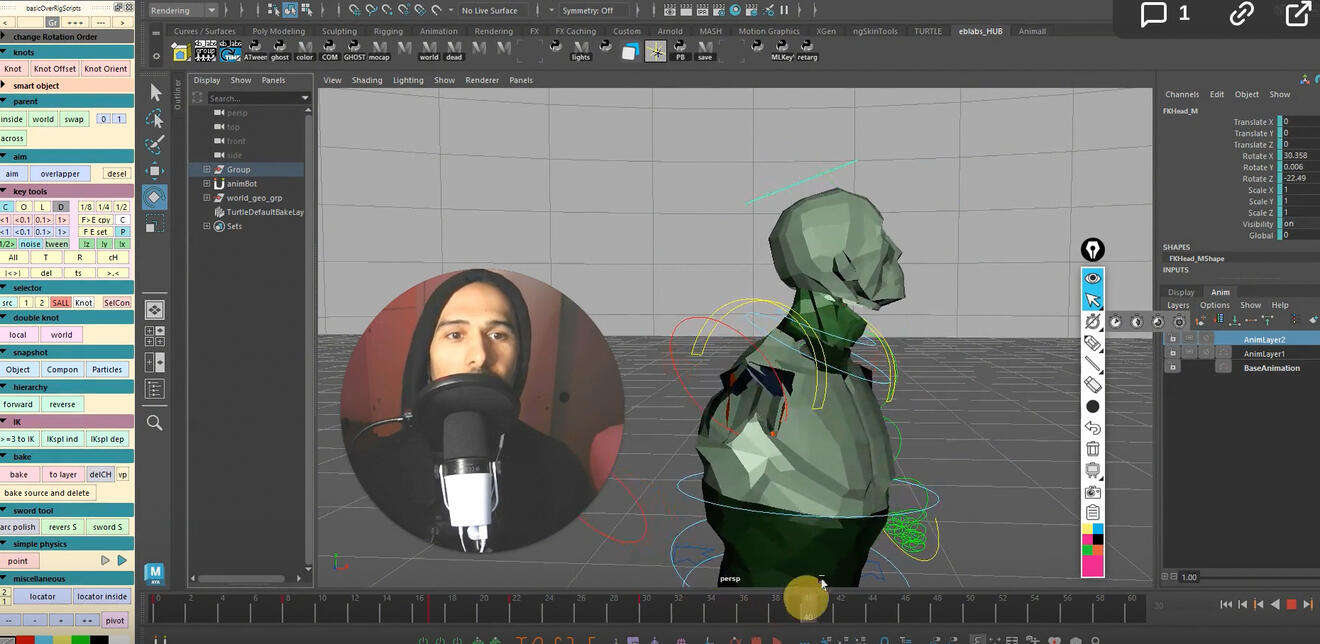
#1 Attaching and Auto Overlap
Learn the most efficient way of attaching objects to each other with BasicOverRig
Create Auto Overlap in seconds that work with any rig (this is not another tail overlap tutorial)
Learn to think outside the box when animating limbs
18:00
16:00
#2 Layered Workflow - Basics
How to simplify and start thinking about everything as a bouncing ball
Animation Layers Demo for Efficiency
Graph editor workflow
Have more control over your rotations usin Aim knots with BasicOverrig
Get subtle overlap in the spine and head using BasicOverRig
The Antic- Overshoot- Settle workflow done in the Graph Editor
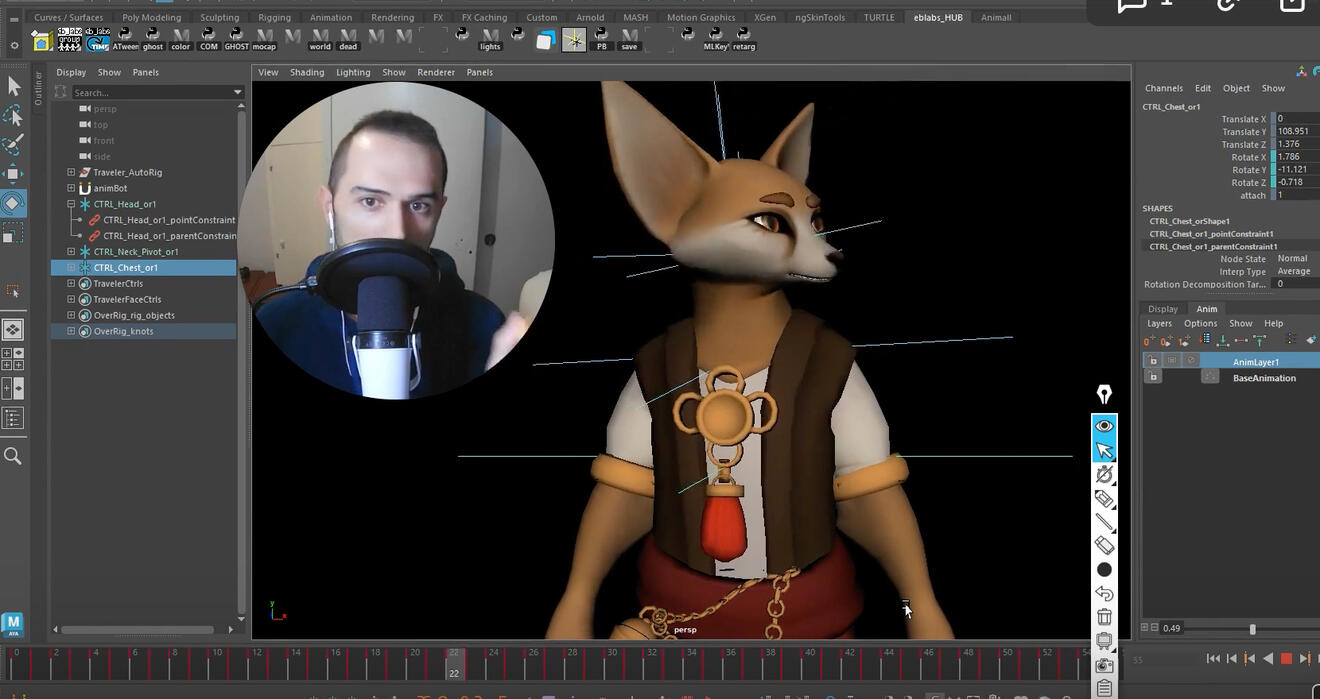
#3 Motion Distrubution
The easy and natural way to distribute motion down the body
Apply this technique to avoid disconnected body parts
07:00
02:00
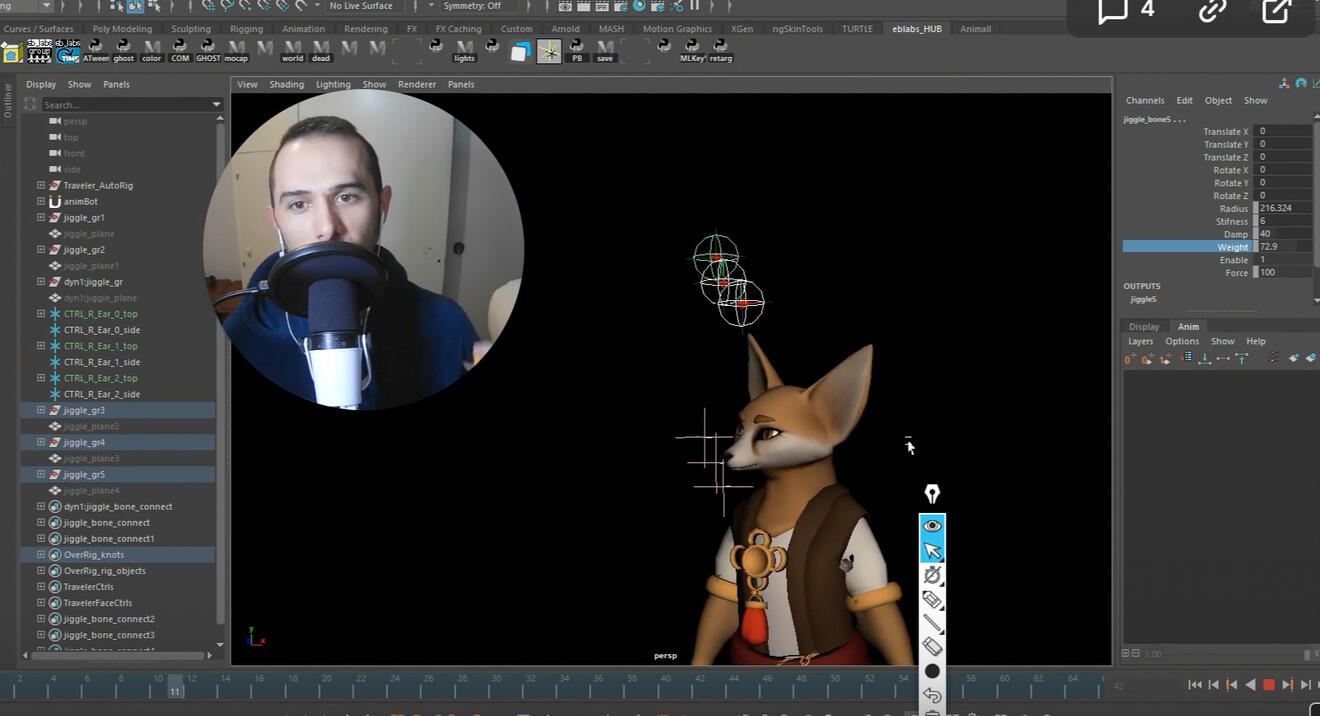
#4 Auto Overlap
In this demo I demonstrate how to get free overlap using BasicOverRig
Apply this to tails, ears, shoulders to get more organic looking motion with Physics
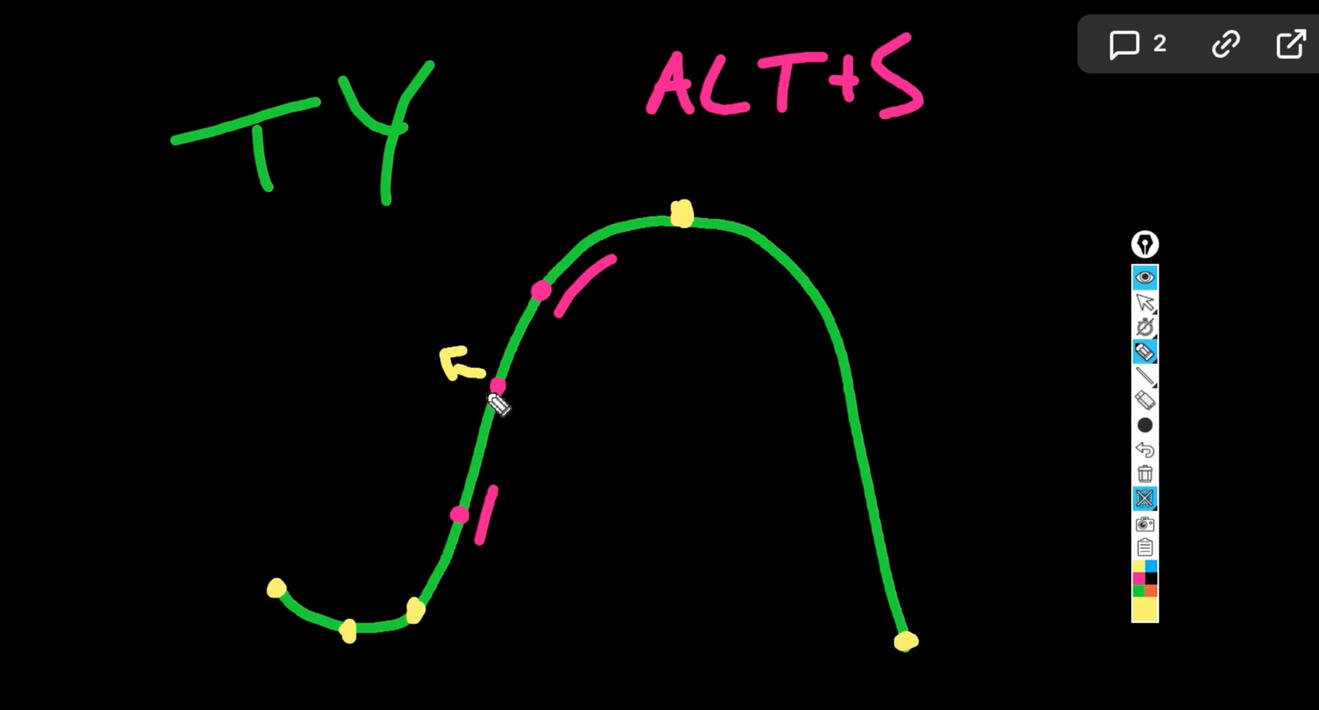
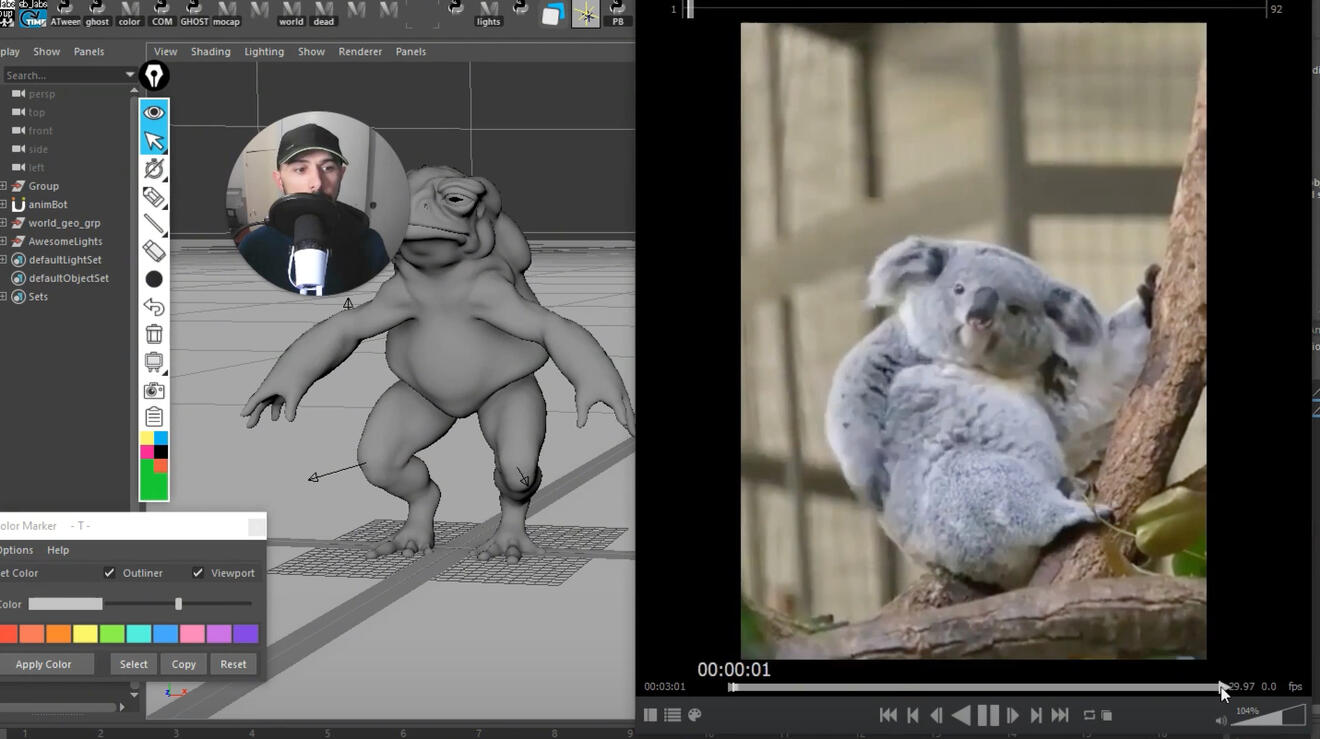
#5 Take Full Control of Your Curves
Demonstration of I use these old school mel scripts.
Learn how to take full control of your graph editor curves
05:00
07:00
#6 Animating Fat and Fur
How to simply animate fat and fur like subtances using space switching and offsetting
How to borrow motion from different controllers and apply it to other controls
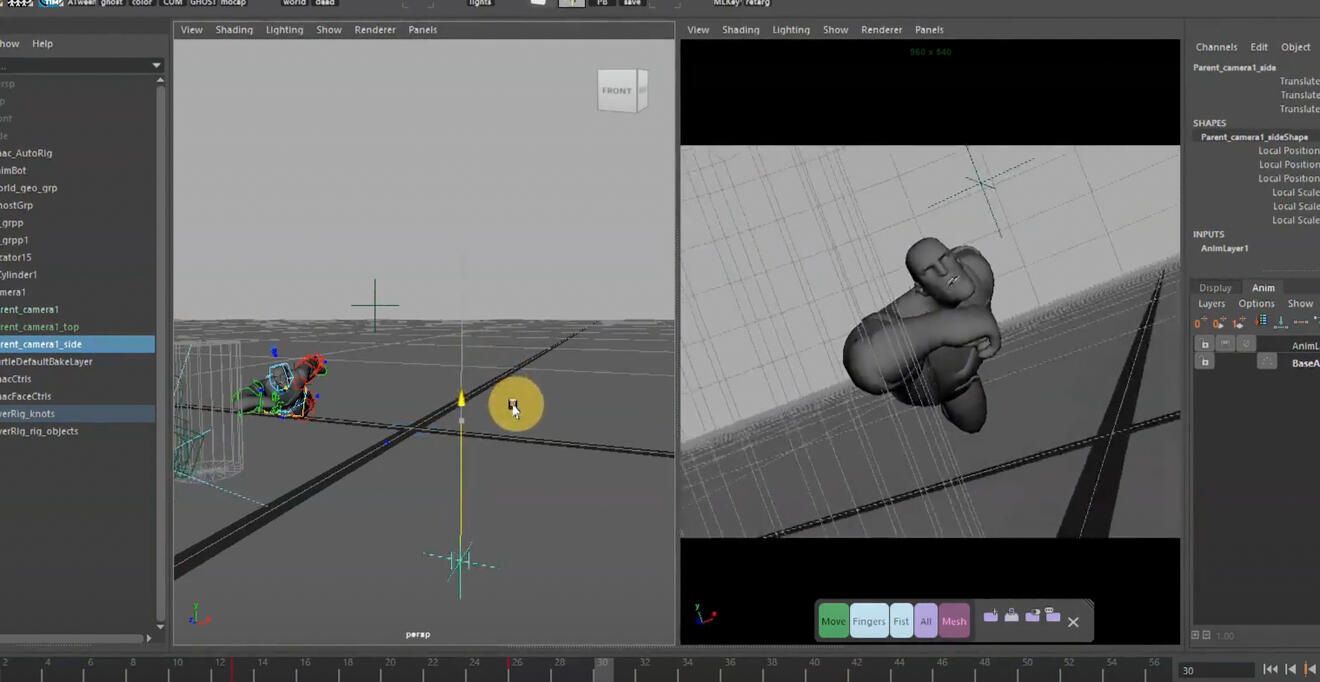
#7 Dynamic Camera Animation
Stefan's way of animating dynamic cameras.
Techniques on how to make a handheld camera using animation layers and Aim constraints
04:00
04:00
#8 Pose Exploration Method
A Short demonstration of using one of my favorite AnimBot Tool on posing and exploring poses quickly for your blockout
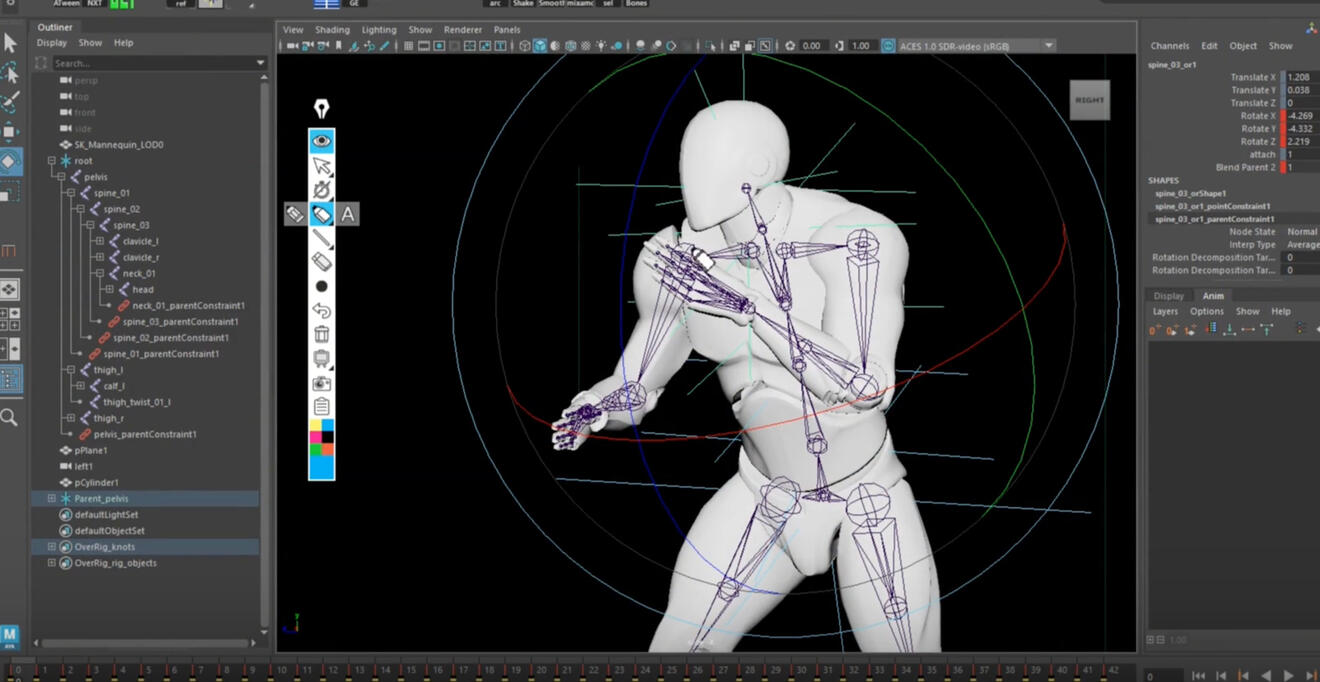
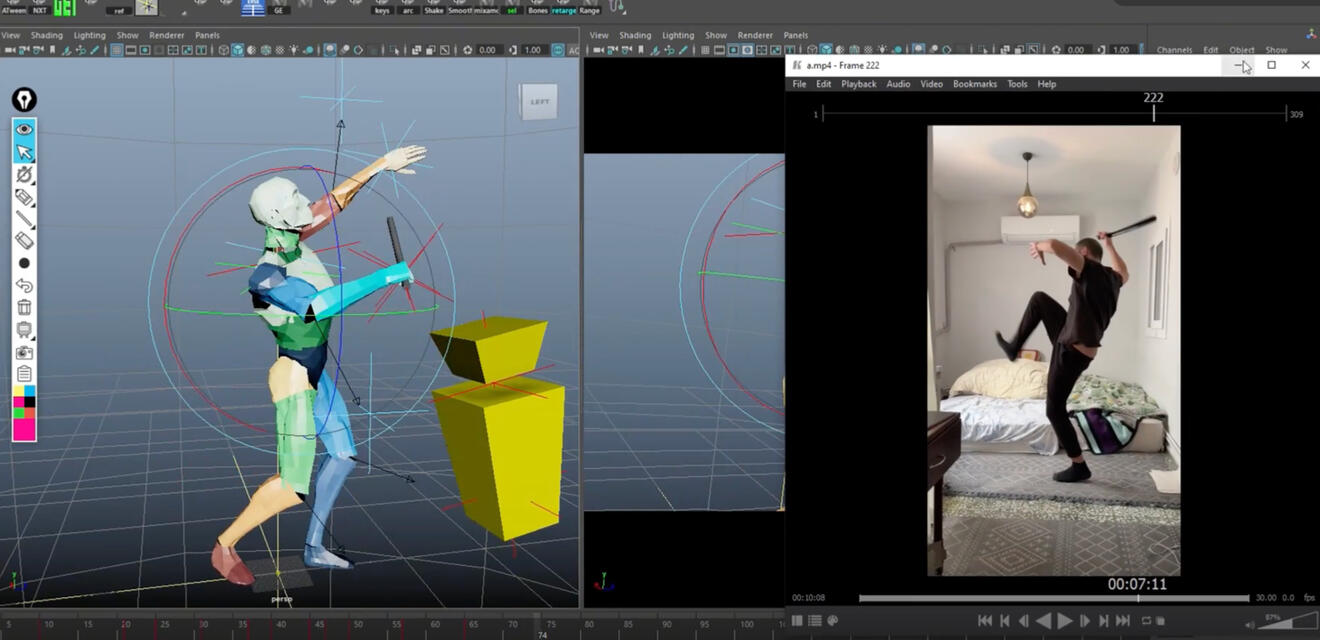
#9 Mocap cleanup and Animating Bones
How to temporary create controllers on Motion Capture data that works for you
No rig? No problem? Step by step demonstration on how to animate directly on bones
Motion Capture timing and clean-up demo
Ideas on using Video to Mocap for better understanding of video reference.
34:00
45:00
#10 Mocap at home
How to use AI video to mocap tools
How to retarget Motion Capture to any rig
Pose enhancement techniques
How to exaggerate timing
Technical hurdles you might have working with Mocap and how to solve it.
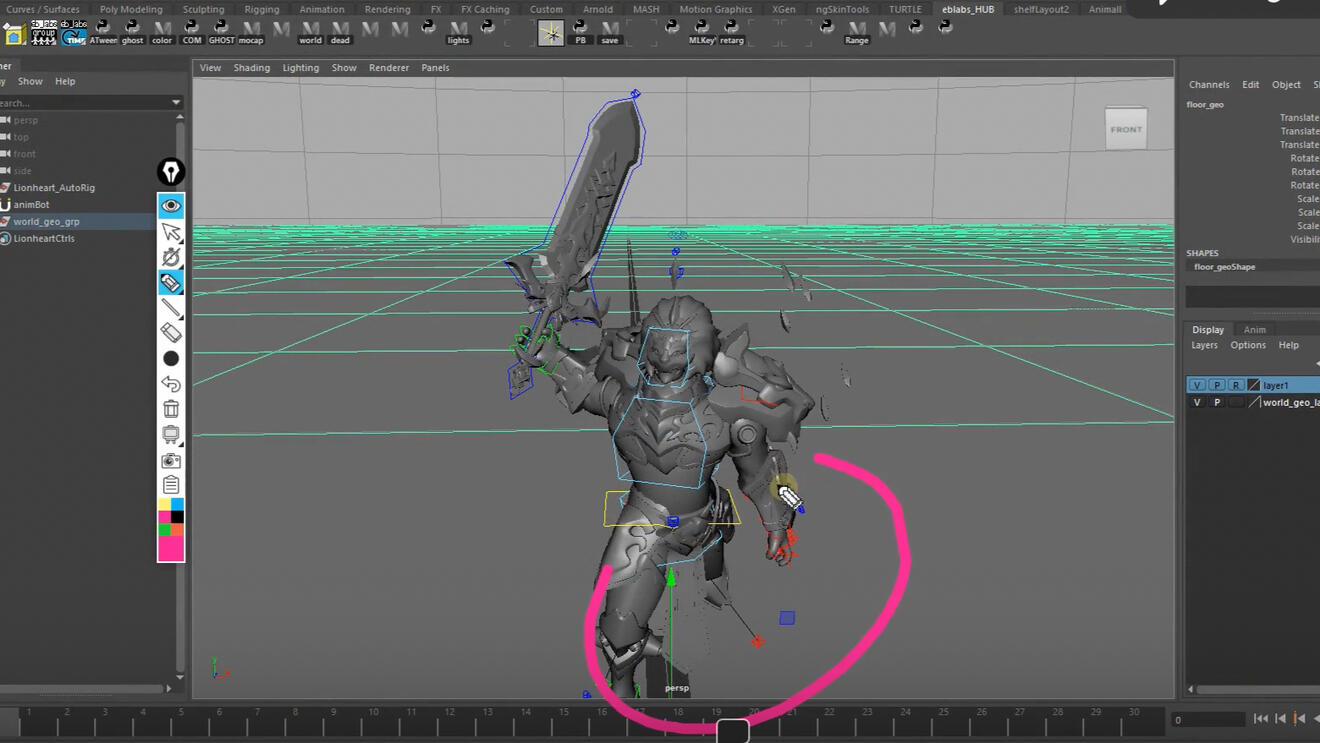
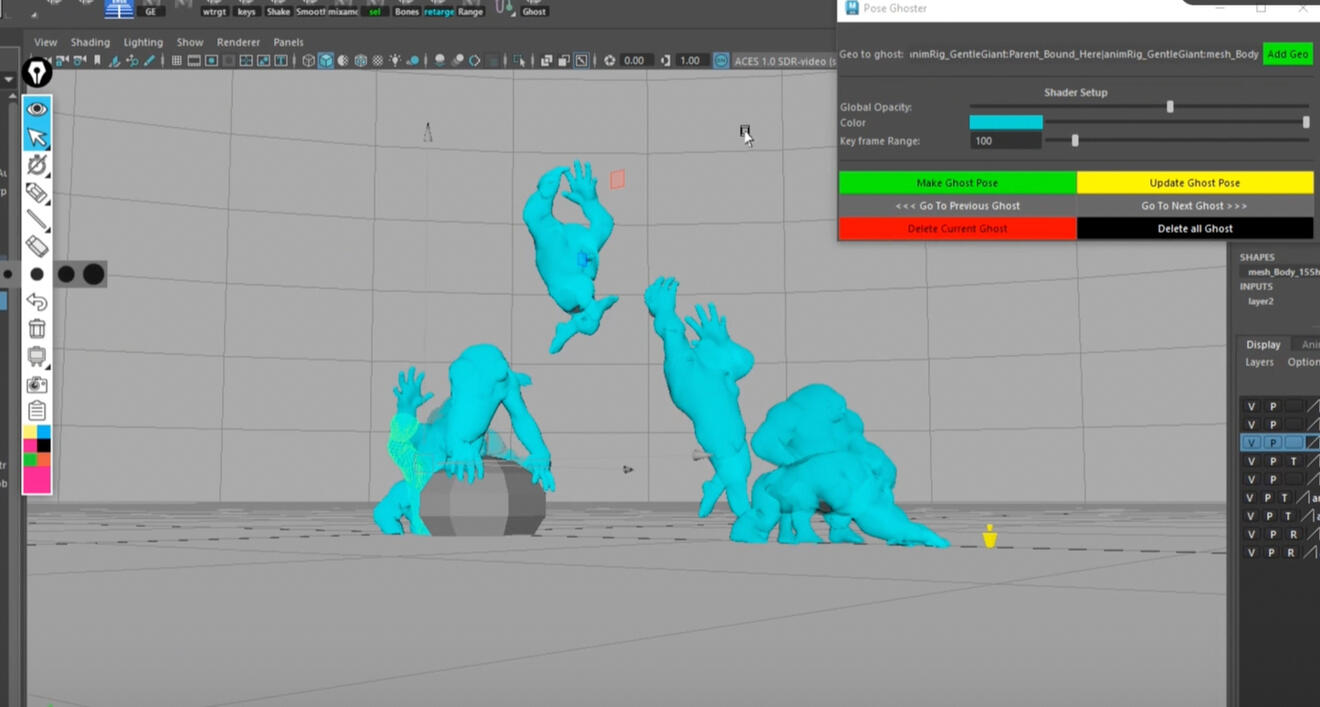
#11 Pose Sketching
Plan your shots by with the Pose Sketching method (If you're not into Thumbnailing you can use this to quickly explore ideas)
Start your planning strong with this pose planning workflow to get feedback
06:00
17:00
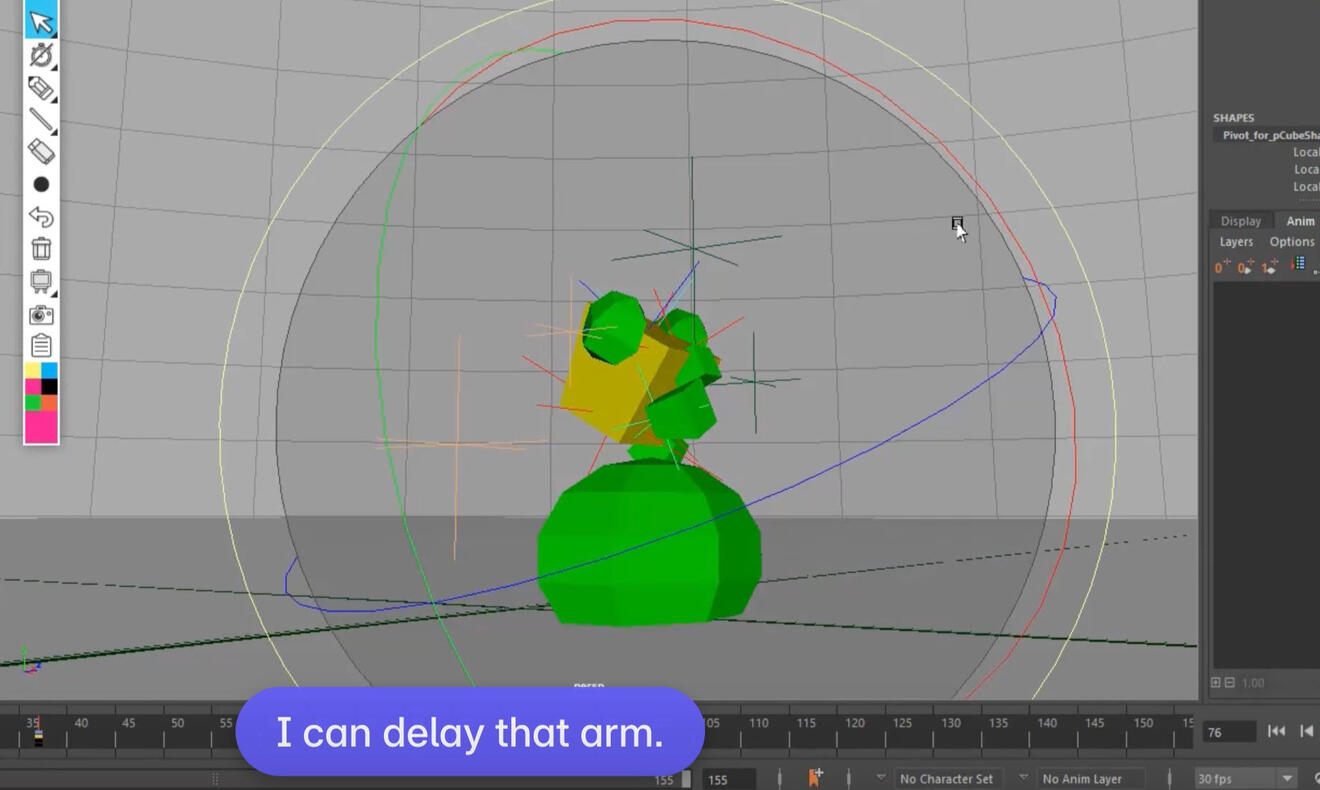
#12 Primitive Planning
Learn how to plan your shots and find the energy using simple objects
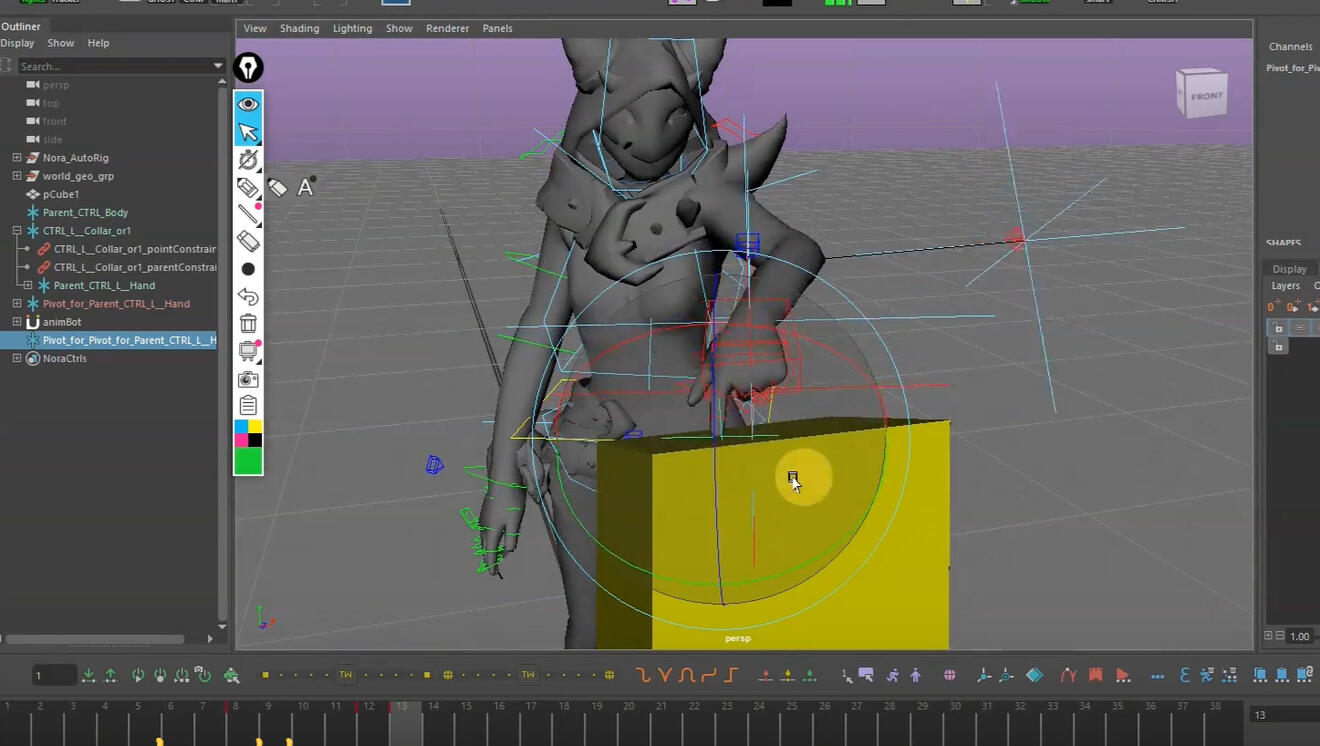
#13 Smooth Peel offs with Mocap
Working with motion capture?
You will learn how to get better contact points using BasicOverRig and a very special animbot tool
17:00
Wait There's More...
I've Added 3 More Bonus Lectures:

17:00
How To Become a Better Game Animator
Use this Chrome Extension to become a better game animator
What old Street Fighter Hand Drawn Animations can teach you about Game Animation
Everything is a Bouncing Ball
Learn how to animate directly on joints
Create your own temporary rigs using BasicOverrig Script
How to simplify the way you think about animation
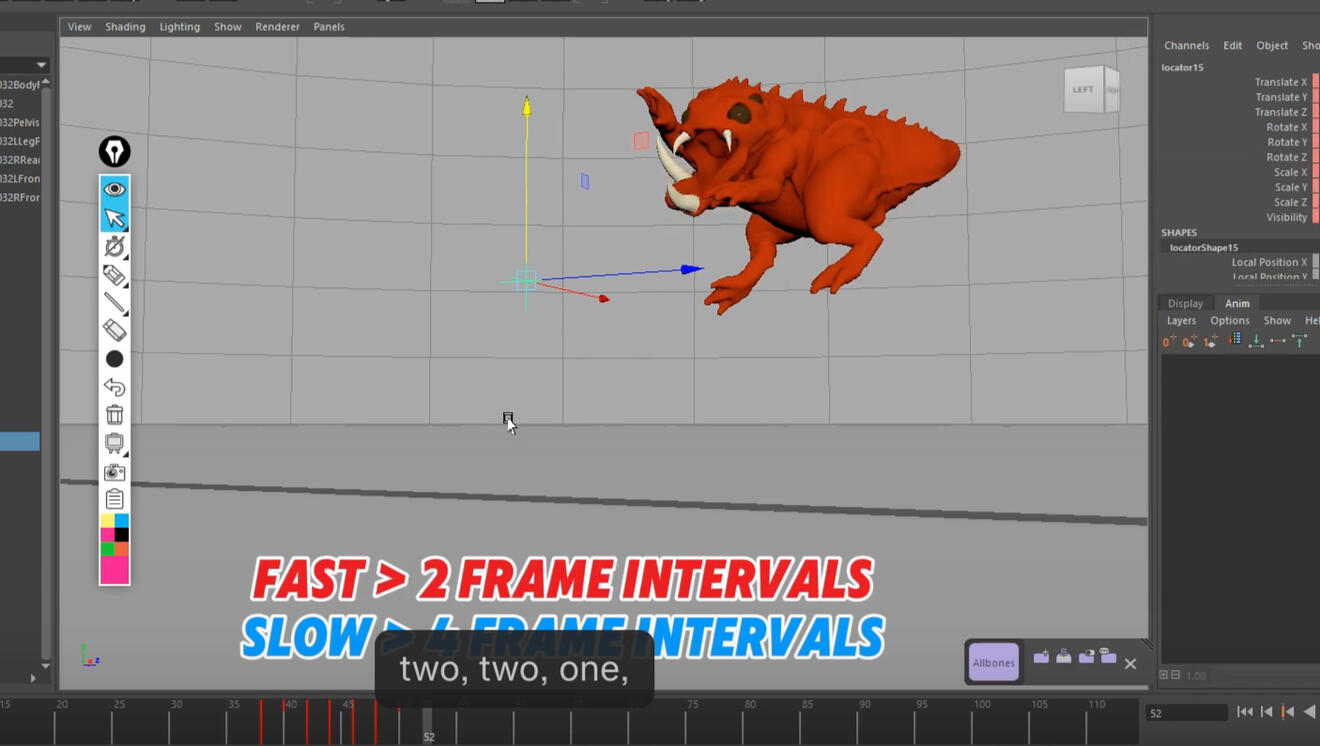
33:00
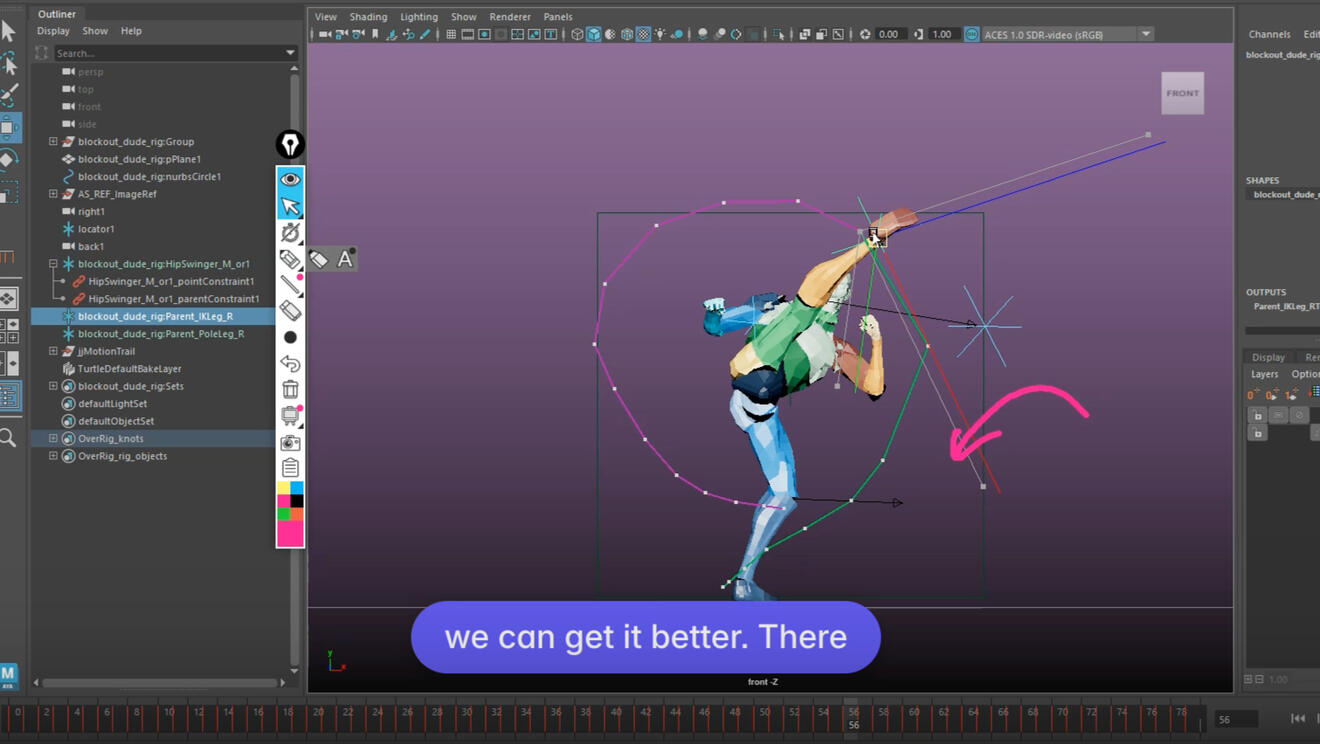
1 Hour
Stepped to Polish Full Workflow
Stefan's unique way of going from pose to pose to polished animation using BasicOverRig scripts.
Learn How To Polish Each Body Part-- Step by Step workflow tips for each body part
Who This Is For:
This is for animators who already know the fundamentals and feel like the process itself is slowing them down.
You can make good poses, but shots take longer than you want them to.
You're moving from school or personal work into production and the schedule feels completely different.
You keep rebuilding timing after you move out of stepped.
You know several ways to animate something, but you want faster options for testing motion, overlap, cameras, or reference.
You want practical production workflows rather than another fundamentals course.
ATTENTION!One Thing to Know Before You Buy:
Some of these workflows use third party Maya scripts.I didn't write them and I don't sell them. They're tools built by other people that I use in my own production work because they save real timeyou'll see a couple of the animators above mention basicOverRig by name for exactly that reason.Those scripts are not included with this course.If you want to run those specific workflows exactly the way I demonstrate them, you'll need to buy the scripts separately from their creators. The main one I recommend is around $70 on top of what you pay me.I want you going in with your eyes open on that. Most of the 13 workflows don't require anything beyond Maya. But a few of the fastest ones do use paid tools, and I'd rather you know that now than find out after you've paid me and feel like I hid it.
What You're Getting:
Get all the 13 recordings today plus the bonus lectures
✓ Life Time Access To Lectures
✓ Techniques to animate fast
✓ Video Demonstrations
$97USD
One Time Payment to Access the Members section
Frequently Asked Questions:
Can I use this with Blender?
This course is specifically designed for Autodesk Maya. While some students have adapted the methods for Blender, please note that it’s not officially tailored for Blender users.
Is there a refund?
Because this is a digital product, I don't offer refunds.
I want to buy this course for my studio, can you give me a discount?
Absolutely. Email me at [email protected]
Does the course come with scripts ?
No, it doesn’t. Some scripts are paid, others are free, and the course focuses on how to integrate these scripts into your workflow instead of providing them directly.
I'm new to Maya, will this course work for me ?
Yes, it can! However, it’s primarily aimed at intermediate to advanced Maya users, so beginners may need a little extra study and practice.
Will these methods work for game animation, or are they mainly for film/TV?
They can be applied to any type of animation—from games and previz to creature animation and film. The core principles are universal.
Do I need a deep understanding of scripting or programming to use these methods?
Not at all. The techniques can be used effectively without advanced scripting knowledge.
Can I still maintain creative control when using these automated techniques?
Absolutely. These methods are meant to give you more control and save time, not take over your creative process.
I work in a studio with established pipelines that don’t allow third-party scripts. What can I do?
This course relies on certain scripts, so if your studio doesn’t permit them, you might not be able to use all of the techniques. However, you can still learn the concepts and adapt them as best you can within your pipeline.
Are these techniques applicable for stylized animation, or just realistic motion?
They’re versatile enough for any style—from cartoony to hyper-realistic.
Do you provide support if I get stuck?
Yes! contact information provided in the members section
Can I use these methods for facial animation, or are they mainly for body mechanics?
You can definitely apply them to facial animation as well.
I’m self-taught. Will I be able to understand and apply these techniques without formal training?
Yes! These lessons are designed to be clear and accessible—formal training is not required.
Are there English Subtitles in these lectures?
Yes!
Currently This is a new item coming up
+13
Core lectures
added more in future
+3
Bonus Lectures
In our core team
✓ Regular item
✓ A check for items
✕ A cross for items